


















How Does a Self Balancing Hoverboard Keep You Upright?
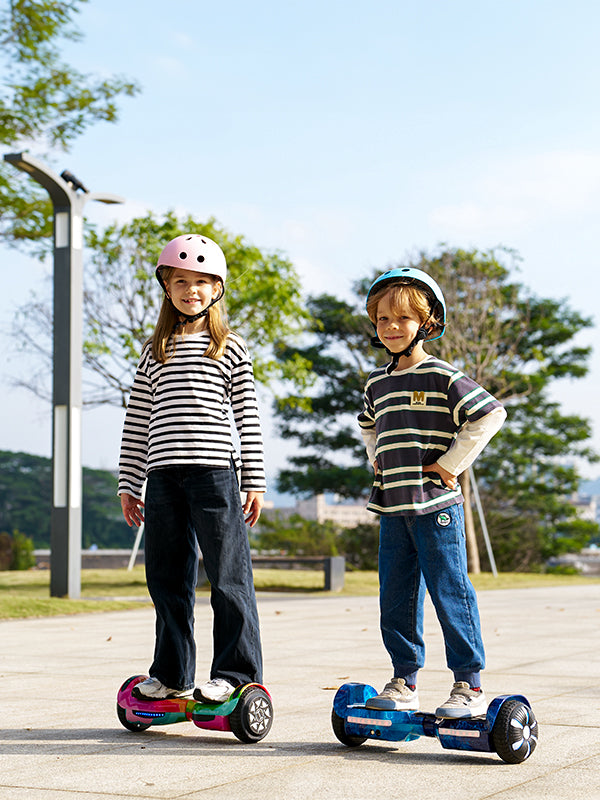
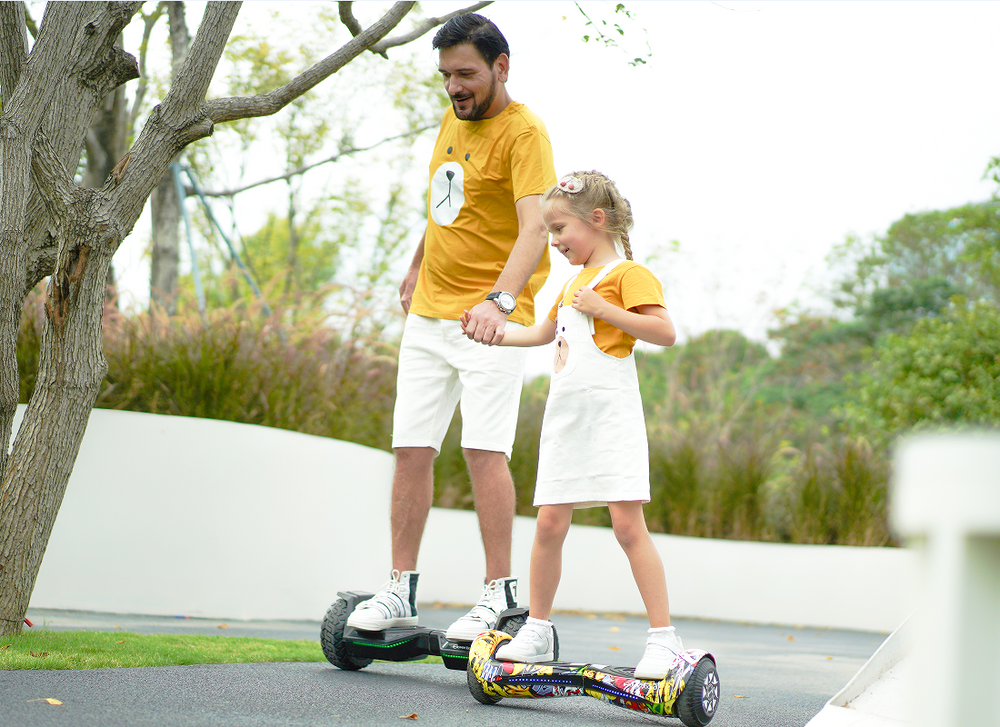
Stepping onto a self balancing hoverboard for the first time feels almost like magic. The moment you shift your body weight forward, the board glides ahead smoothly; lean back slightly, and it brings you to a gentle halt. Yet beneath the sleek footpads of a modern 2 wheel balance board, there is no magic at work—only precision engineering, solid-state sensors, and high-speed processing. Understanding how a self balancing electric hoverboard senses your center of gravity makes riding easier, safer, and more intuitive. Whether you are riding an entry-level iHoverboard H1, a feature-packed iHoverboard H2, or a rugged off-road iHoverboard H8Max, the underlying physics remains the same. In this article, we break down the internal gyroscope technology that keeps you balanced, explain how to resolve board shuddering, outline a simple at-home sensor recalibration guide, and detail key safety certifications to look for before buying. At its core, a smart self balance wheel stays upright by continuously correcting its own position relative to your body’s gravitational pull. It achieves this seamless balancing act using four primary hardware components working in real-time: Advanced models like the iHoverboard H1, H2, and H8Max also feature dynamic self leveling hoverboard startup modes. When powered on, internal gyros automatically align the footplates parallel to the ground before you even step on, making mounting effortless for beginners. If your 2 wheel electric self balancing hoverboard begins to shake, vibrate violently, or "shudder" underfoot, it can feel alarming. Fortunately, board shuddering rarely indicates a broken motor; in most cases, it is caused by sensor input confusion or improper mounting pressure. If your hoverboard pulls to one side, feels unresponsive, or shudders when mounting, performing a sensor recalibration takes less than two minutes and requires no special tools. When shopping for an electric balance board, build quality and electrical safety must be top priorities. Reliable manufacturers engineer their products with strict circuit protections and fire-retardant housings. Safety Feature / Certification What It Protects iHoverboard H1 / H2 / H8Max Standard UL2272 Electrical Certification Tests whole-system electrical, charger, and battery safety Yes (Fully Certified) Smart Battery Management (BMS) Prevents overcharging, short-circuiting, and thermal runaway Integrated Protection Fire-Retardant Casing High-impact ABS shell designed to resist heat buildup Standard on all models Non-Slip Silicone Footpads Maximize shoe grip to prevent foot slipping off sensors Deep anti-skid rubber Understanding how a self balancing hoverboard keeps you upright reveals the impressive engineering inside these compact electric vehicles. By combining high-speed microprocessors, gyroscopic tilt sensors, and independent brushless motors, boards like the iHoverboard H1, iHoverboard H2, and iHoverboard H8Max deliver an intuitive, responsive ride every time you step on. Should you ever experience minor shuddering or drifting, a quick two-minute sensor recalibration resets your board back to factory balance. Ready to discover the fun of effortless personal transport? Explore our complete range of smart self balancing hoverboards today! If your hoverboard begins shuddering underfoot, first check your foot placement to ensure your shoes cover the outer edges of the rubber footpads firmly. Next, verify that the rider meets the board's minimum weight requirement (20 kg). If shuddering persists, perform a sensor recalibration on a completely flat floor to reset the gyroscopes. To recalibrate your hoverboard sensors: turn off the board, place it on a level floor, and manually align both footpads until flat. Press and hold the power button for 5 to 10 seconds until the front LED lights flash and the board chimes. Release the button, wait 10 seconds, turn the board off, and then power it back on to complete the reset. Battery range depends on rider weight, terrain, and wheel size. Generally, a fully charged iHoverboard H1 or H2 provides 6 to 10 miles (10–15 km) of continuous riding, while the heavy-duty iHoverboard H8Max offers extended range suitable for longer outdoor trips on grass or gravel paths.
The Internal Gyroscope Technology Explained Simply
What Causes Board Shuddering and How to Fix It Quickly
Common Causes of Hoverboard Shuddering
Quick Fixes for Board Vibration
Step-by-Step Sensor Recalibration at Home
Key Safety Certifications to Look for Before You Purchase
Model Overview: iHoverboard H1, H2, and H8Max
Conclusion
Frequently Asked Questions
What should I do if my self balancing hoverboard starts shuddering?
How do I reset and recalibrate hoverboard sensors at home?
How long does a full battery charge last on iHoverboard models?






Still, need help? Contact Us: support@ihoverboard.com
What's the option? Check out the option now!
Leave us a message